Using Asset Caching
Overview
Caching is a technique used in software development to improve the performance and efficiency of applications by storing frequently accessed data or computations in a temporary storage area called a cache. The main idea behind caching is to reduce the need to recompute or fetch data from the original source repeatedly, which can be time-consuming and resource-intensive. Instead, the cached data can be quickly retrieved from the cache, resulting in faster response times and reduced system load. Memory caching involves using fast and accessible memory, like RAM, to store frequently used data.
Selection of Caching Method
When generating service source code based on a project and a generator, you have the option of selecting which caching technique will be used when you use the CLI command ol generate to generate the service. The following parameter is available:
--cache, -c
Enable caching with the selected cache solution within the generated project [redis, hazelcast]
Currently, there are two caching options to use:
- Redis - an open source in-memory data key-value store used as a cache
- Hazelcast - an open source In-Memory Data Grid used as a cache
To decide which caching method to use, you may want to consult Difference Between Hazelcast vs Redis for more information.
Configuring Asset Caching
You may configure an asset cache using the ol set cache command. This command enables setting which asset fields will be cached and the cache time interval in milliseconds. The command options are:
--asset
The asset name
-cache-key
The cache keys, or asset fields to be cached. For example, "InputField.SubField" "true"
cacheTTL
The cache TTL (time to live), or cache interval in milliseconds.
Configuring Cache Engine Details in the service.yml file
If you have configured caching using the ol generate command, you can configure the caching engine fields in the service.yml file. For example,
ol:
....
....
  cache:
    redis:
      client:
        hostname:
        port:
        password:

rpc:
    cache:
      enabled: true
Asset Caching in the UI
In the Ol Hub, you can cache data assets. You have the option of selecting some or all assets to cache as well as the cache latency time interval.
- In the Modules screen, click on the
 icon. A menu appears:
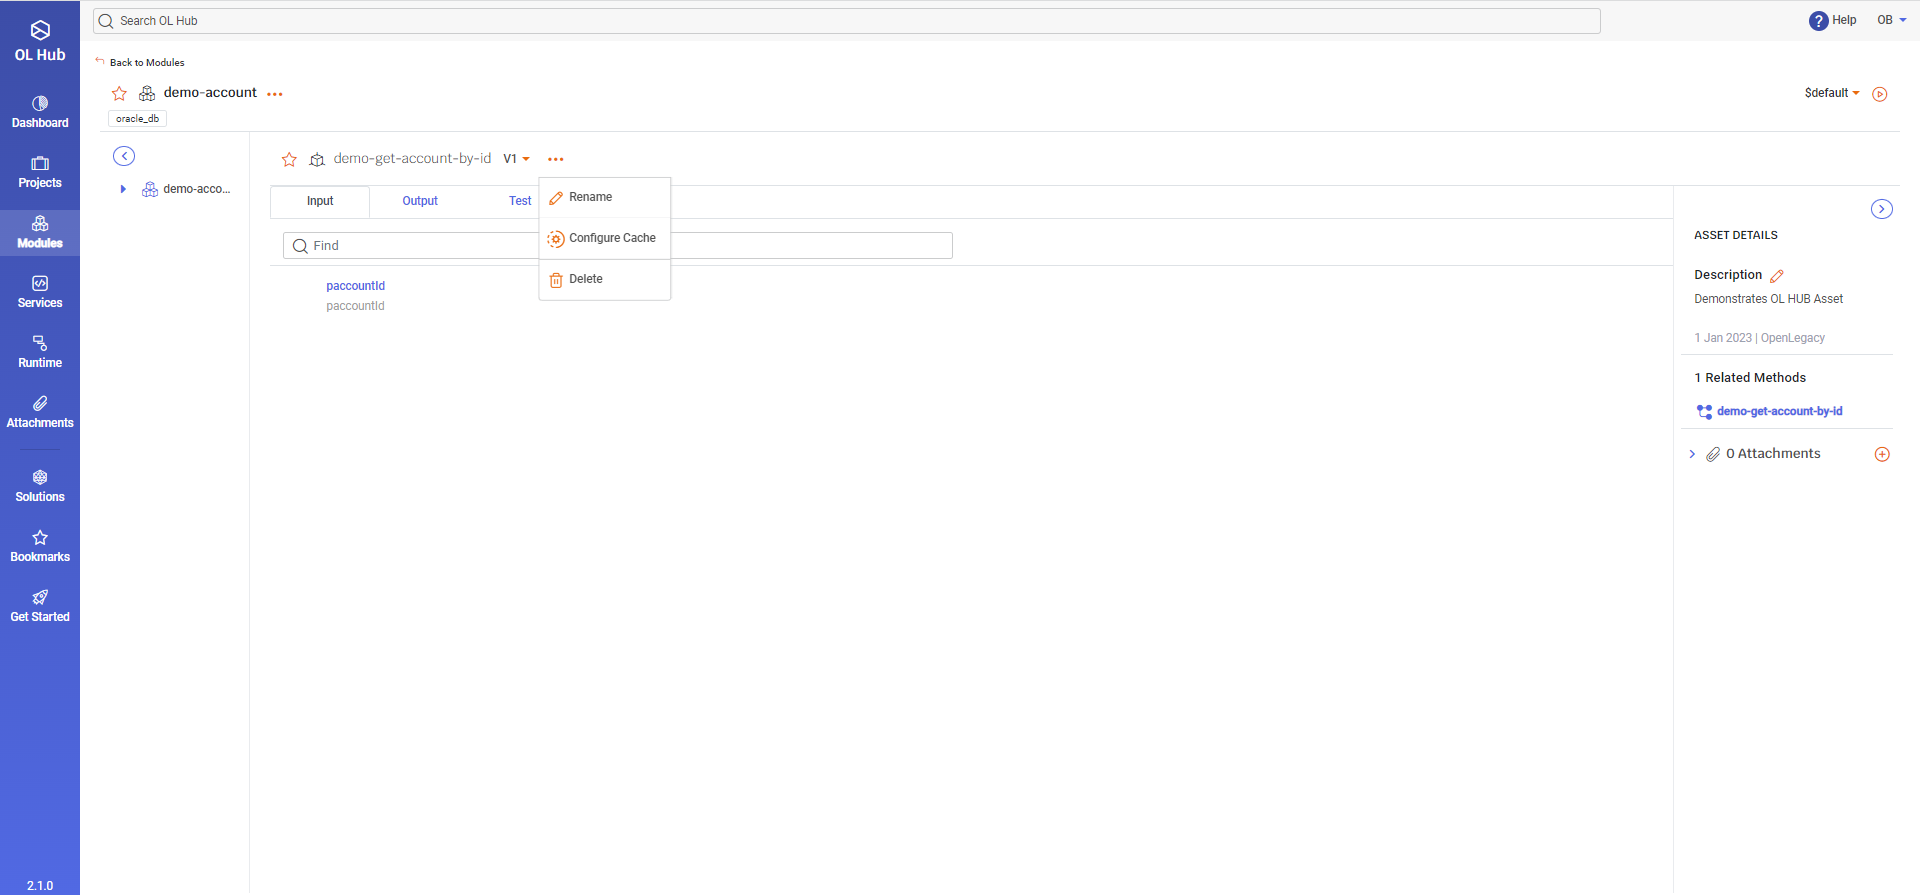
- Select the Configure Cache option. The Configure Cache window opens:
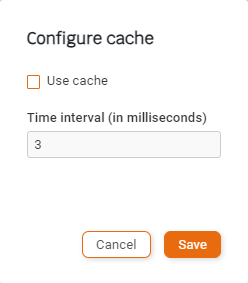
- Check the Use cache box and enter the cache Time interval (in milliseconds).
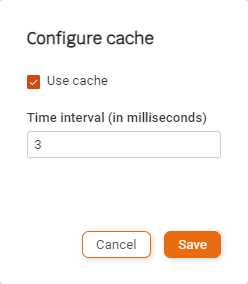
- Click on Save. The Modules screen reappears:
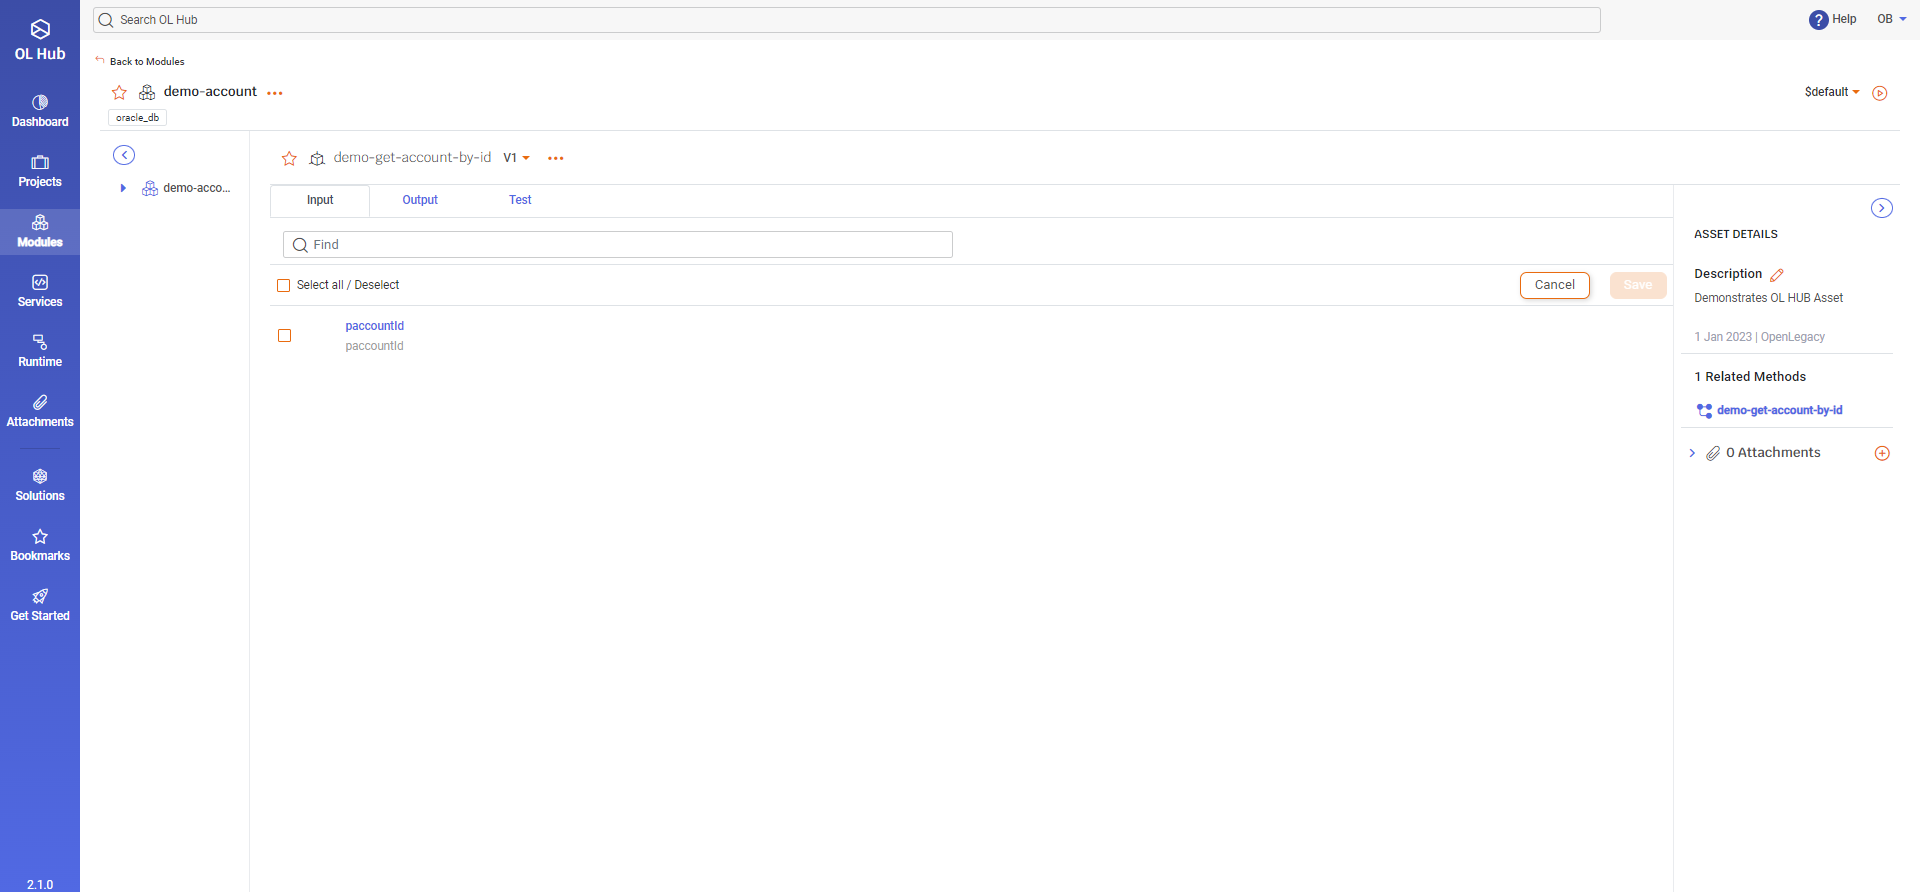
- You may select which assets will be cached by checking the box adjacent to the asset, or you may Select all assets to be cached.
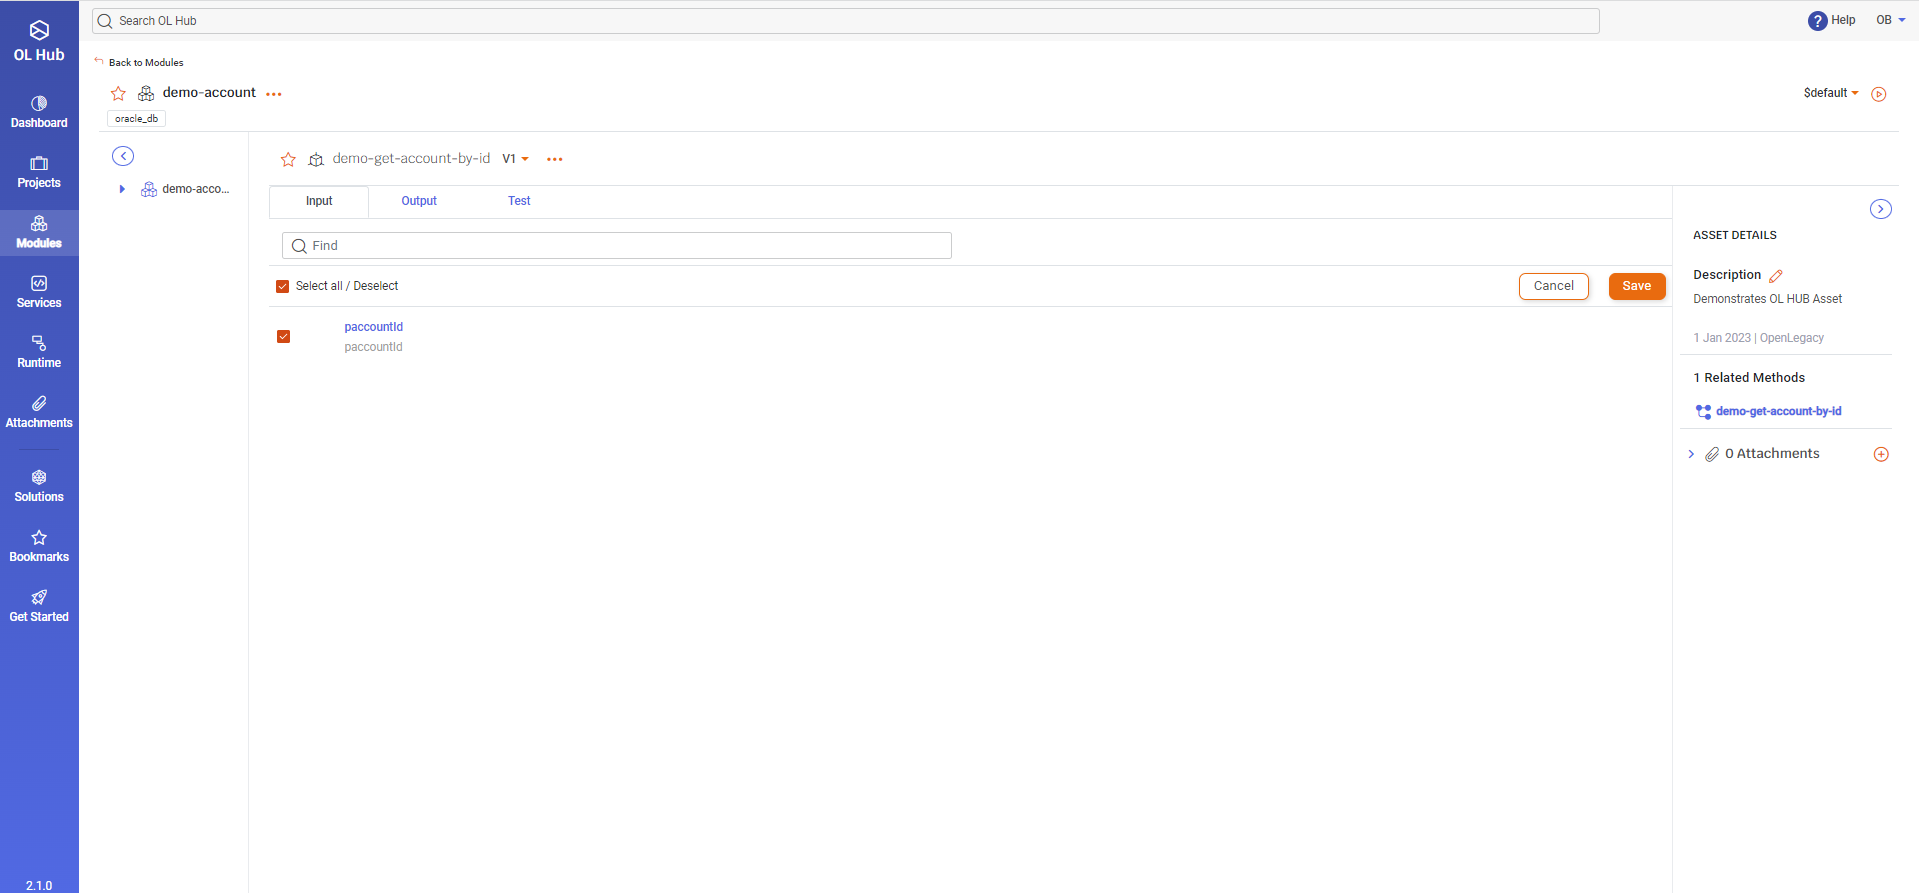
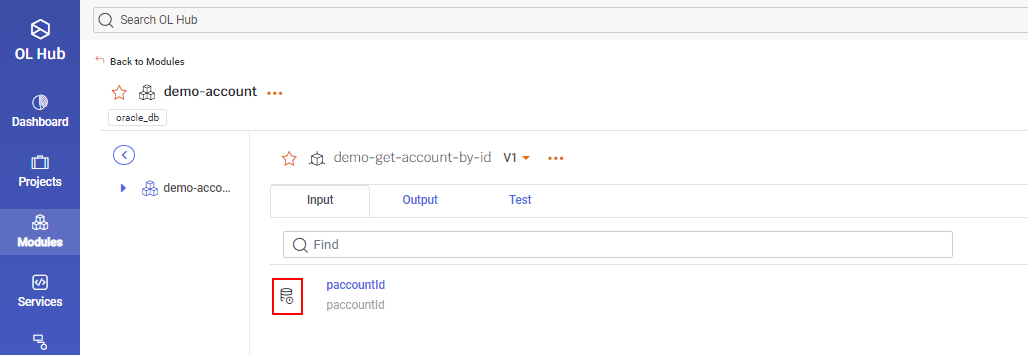
- Click the Save button. The cached assets are indicated by the
Icon to the left of the asset.
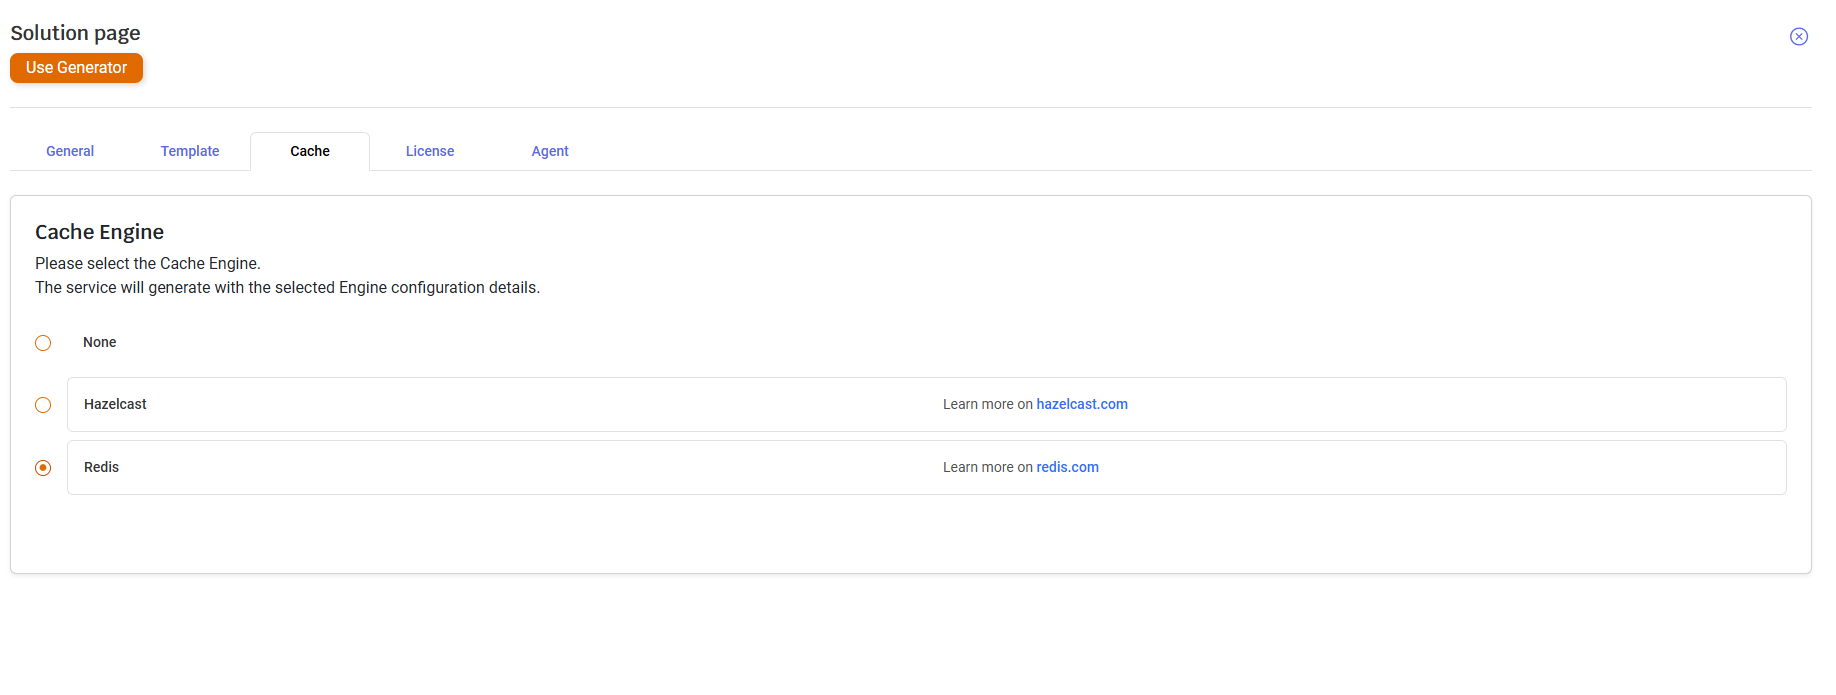
Adding Cache to a Lowcode Project
To use Cache in a low-code project, a user should add Cache to the asset as described above. Then, when creating the low-code project. The user should specify the cache type:
The connection details need to be applied to the YAML file under:
src/main/resources/application.yaml
For example in Redis:
ol:
  rpc:
    cache:
      enabled: true
  cache:
    redis:
      client:
        hostname: "my.redis.com"
        port: 6379
				password: PASSWORD
        tls: true
				additionalProperties:
					key1: val1
					key2: val2
Where the key and values inside the additionalProperties are the Redisson Single Server configurations, you can see it here: Redisson Single Server
Another option will be to use the following environment variables:
OL_RPC_CACHE_ENABLED=TRUE
OL_CACHE_REDIS_CLIENT_HOSTNAME="my.redis.com"
OL_CACHE_REDIS_CLIENT_PORT=6379
OL_CACHE_REDIS_CLIENT_PASSWORD=PASSWORD
OL_CACHE_REDIS_CLIENT_TLS=TRUE