Role-based Access Control (RBAC)
Overview
The OL Hub uses Role-based Access Control (RBAC) to restrict network access based on the roles of individual users within an enterprise. Organizations use RBAC -- also called role-based security -- to parse levels of access based on an employee's roles and responsibilities. It involves setting permissions and privileges to enable access to authorized users.
Role-based access control is a policy-neutral access control mechanism defined around roles and privileges. The components of RBAC such as role-permissions, user-role and role-role relationships make it simple to perform user assignments. RBAC addresses many needs of commercial and government organizations. RBAC can be used to facilitate administration of security in large organizations with hundreds of users and thousands of permissions.
Team
In the OL Hub, the Settings > Team tab displays Members and Groups. Members are the OL Hub Users. Groups are collections of Users.
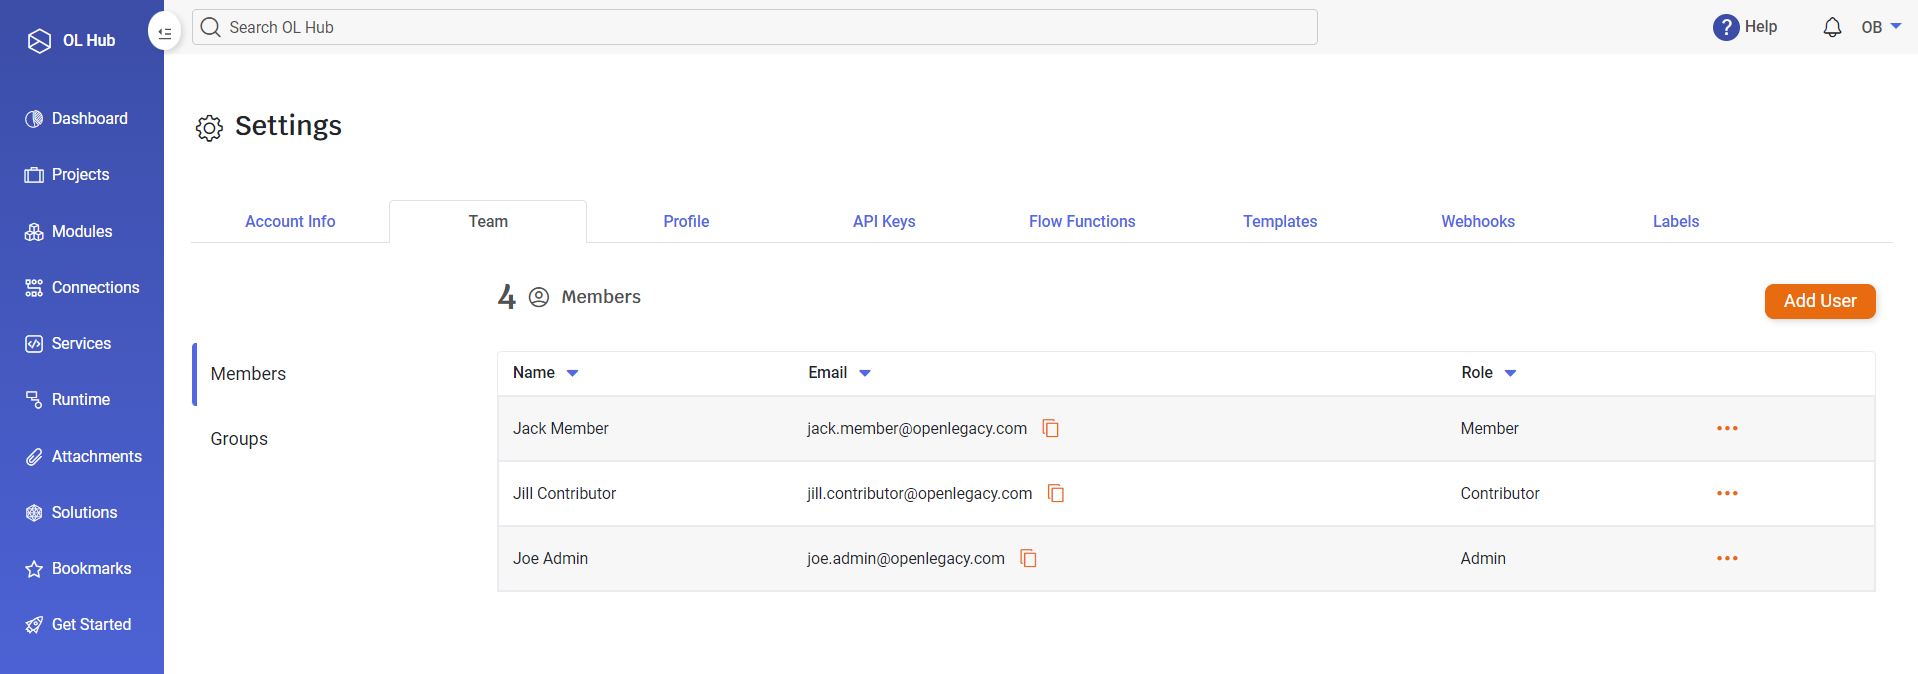
Members
The Members tab displays a table of the OL Hub users. The Name, Email and Role of each user is displayed.
Roles
The Roles supported by the OL Hub are static and can not be modified by users. A user is assigned a single role.
There are three types of Roles:
- Admin
- has access to any resource and any action in the OL Hub.
- can add users and assign them any one of the OL Hub Roles.
- Contributor
- has access to any project resource in the OL Hub.
- has restricted access to OL Hub actions.
- Member
- has restricted access to project resources in the OL Hub.
- has restricted access to OL Hub actions.
- has restricted access to OL Hub actions.
The actions list is a black list of actions restricted to the Admin role only. For example, a Contributor/Member user cannot Tag a Project.
| Restricted Permission | Contributor | Member |
|---|---|---|
| Issue License | X | X |
| Agents CRUD | X | X |
| Team CRUD | X | X |
| Runtime API Keys CUD | V | X |
| Account API Keys CRUD | X | X |
| Custom Templates CUD | V | X |
| Webhooks CUD | V | X |
| Labels CUD | V | X |
| Export OPZ | V | X |
| Export ORZ | V | X |
| Tag Project | X | X |
| Deploy Project to OL Runtime | X | X |
Project Permissions
A Project resource is by default owned by the Admins/Contributors and by the Project Creator. These owners can share the resource with Read/Write/Maintain/Owner permissions with other Users or Groups. Member users view/work on their projects and the project shared with them.
User Operations
The following actions are restricted to Users having the Admin Role.
-
To add a User, press the
 button. The Add New User window opens:
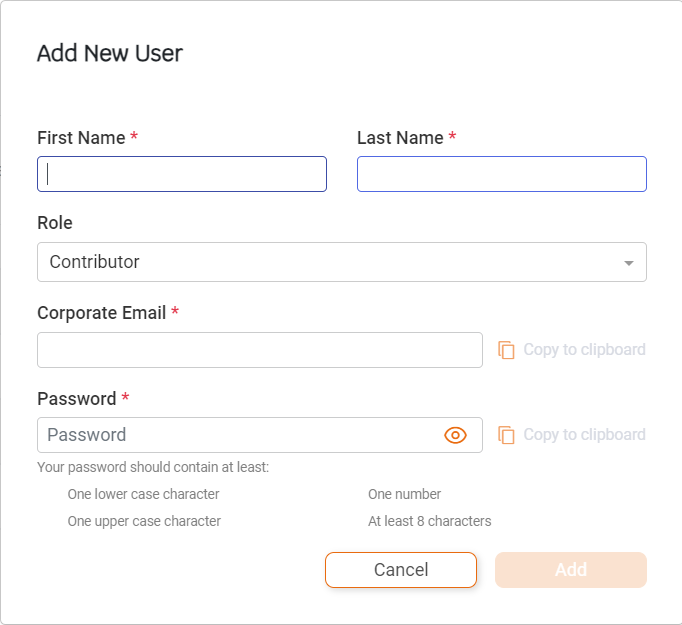
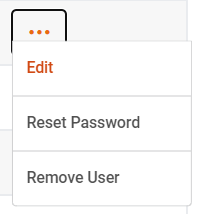
- To edit an existing User, press the
 icon at the end of the row for the desired User and select Edit:
-
The Edit User Details window opens:
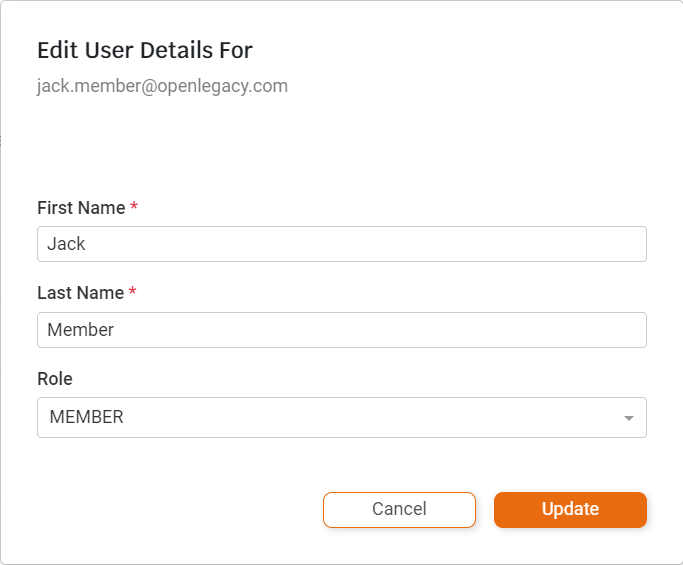
- Note that the User’s Email cannot be updated here.
- To reset a User’s password, press the icon at the end of the row for the desired User and select Reset Password. You must have Admin Role to be able to reset another User’s password.
- To delete a User, press the icon at the end of the row for the desired User and select Remove User. A confirmation window opens. You must have Admin Role to be able to delete another User.
Groups
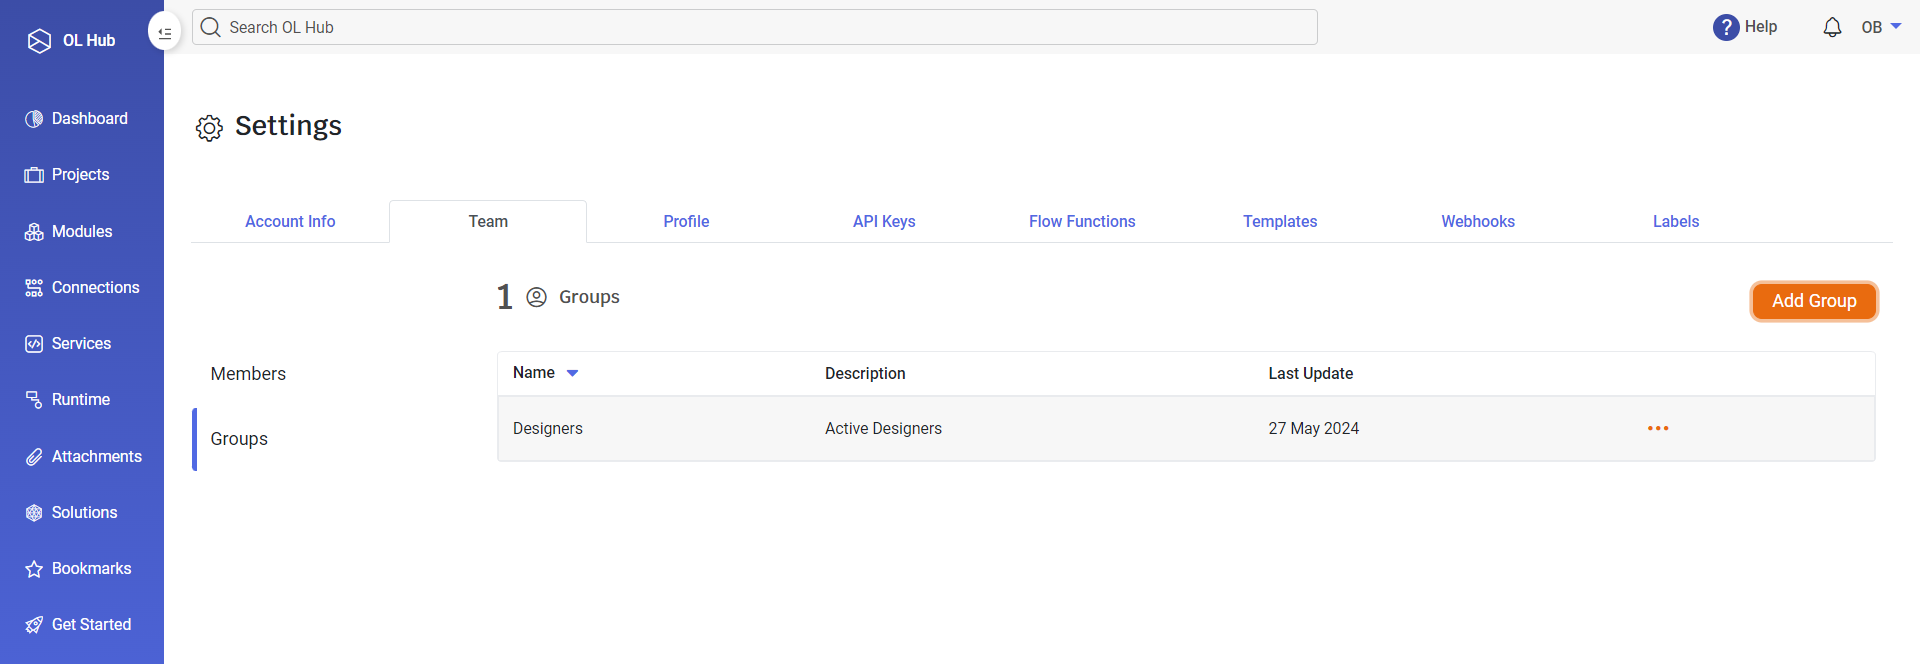
The Groups tab displays a table of the OL Hub Groups. The Group Name, Description and Last Update are displayed.
Groups provide a convenient way of organizing Users together. A Project may be shared with Users or Groups. If there are many Users in a Group, sharing the Project with the Group enables all Group members access to the Project.
Group Operations
The following actions are restricted to Users having the Admin Role.
-
To add a Group, press the
 button. The Add Group window opens:
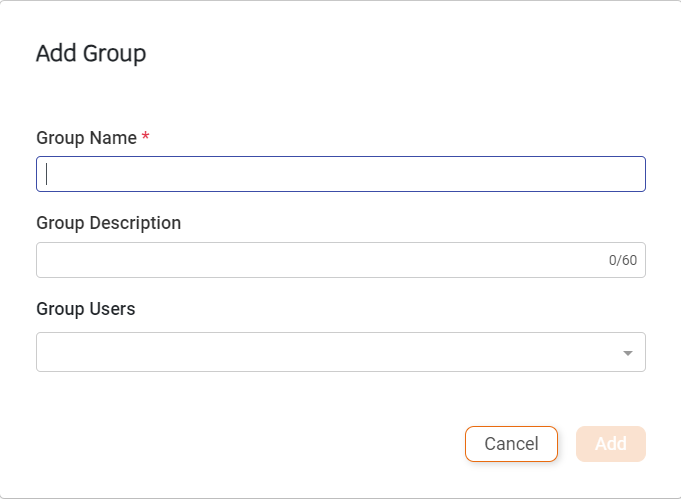
-
To edit an existing Group, press the
 icon at the end of the row for the desired Group and select Edit:
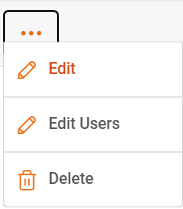
- The Edit Group window opens. You may change the Group Name and/or Group Description.
- To edit Group members, press the icon at the end of the row for the desired Group and select Edit Users. The Manage Group window opens. You may remove or add Users to the Group.
- To delete an existing Group, press the icon at the end of the row for the desired Group and select Delete. The selected Group is deleted.
Note: No confirmation window appears before the selected Group is deleted.
Sharing Projects
-
To share a Project with other Users or Groups, press the
icon adjacent to the Project name on the Project page and select Share: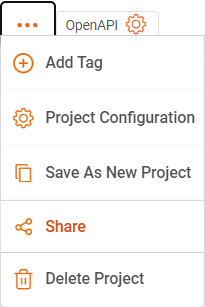
-
The Share Project window opens:
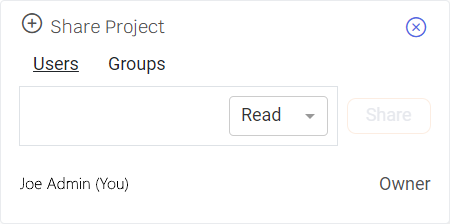
-
To share the Project with specific Users:
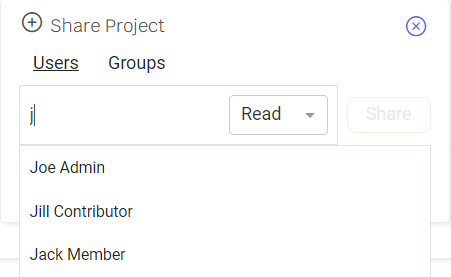
-
Press Users and begin to type the User’s Name in the text box. A list of Users appears below the box:
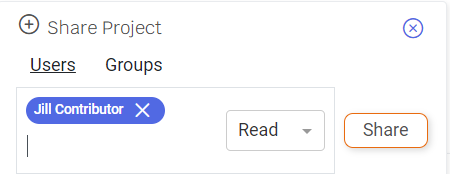
-
Select the desired User from the list:
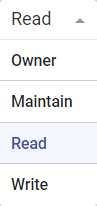
-
Select the desired Permission for the selected User from the list:
-
Press the Share button.
-
To add additional Users, repeat steps 3.ii-iv.
-
-
To share the Project with specific Groups:
- Press Groups and begin to type the Group Name in the text box. A list of Groups appears below the box.
- Select the desired Group from the list.
- Select the desired Permission for the selected Group from the list.
- Press the Share button.
- To add additional Groups, repeat steps 4.ii-iv.