License Management
Overview
OpenLegacy Licenses are centrally managed by the following methods:
- For Hub SaaS/Enterprise Admin via the Hub Admin Area (Admin Account)
- For Hub Enterprise Admin via the License Portal (Admin Account)
Hub Enterprise/ partner users need to issue licenses using the Hub.
Master License
The Master License defines the tenant account level license expiration, the Grace period and the Runtime and Hub Limitations.
Runtime Limitations are the number of allocated standard methods, premium methods and screens.
Hub Limitations are the number of allocated Production Applications.
License Types
Development License
A license is required for new generated/deployed services.
This license will be limited on serving time: after 6 hours the service will not stop and not restart (stop serving, not stopping the application). It will stop handling requests and will write errors to the log. This will allow the user to deploy and test the application for a limited time. The deployment license will handle only one request at a time (no multithreading). If the user would like to deploy the application for longer periods of time, he will need to issue a production license.
Production license
A license is required for new generated/deployed services.
Only tagged projects will be able to be issued a production license. The production license will encode the ids of the published methods, the ids of the screens used by those methods and the ids of the models used. When the application starts and during the loading of the source provider, the resources allowed by the license will be validated.
Issuing Production Licenses
There are two ways of issuing a production license for a project, depending on the hub type:
- SaaS/Enterprise 'Connected' mode - The user can issue the license directly from the Hub, using the UI.
- Hub Enterprise - The admin for enterprise accounts must use the License Portal.
Issuing Production Licenses - SaaS
A Production license can be issued for every tagged project that contains a published method.
Note: Only the account Admin can issue a Production License. A Temporary Development License will be issued under the hood for every project Tag & Draft.
-
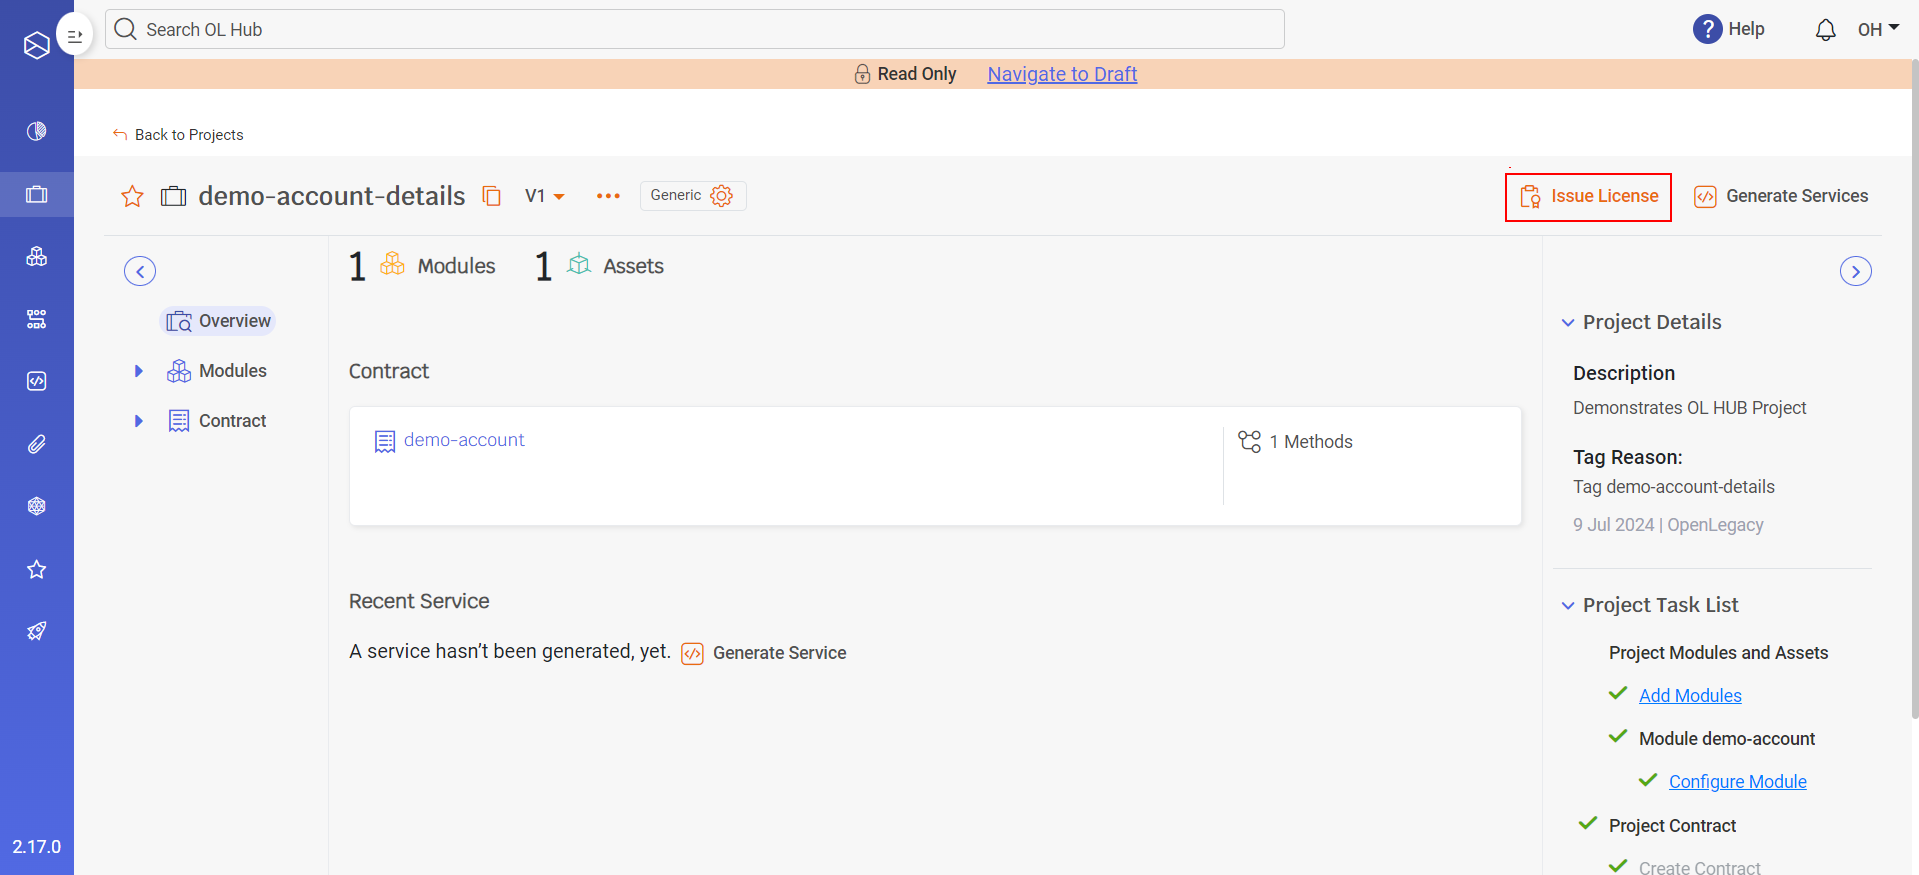
On the tagged project view, click on the Issue License button to license the project.

-
The Issue License window opens, indicating to the user how many methods, premium methods and screens are allocated from the tenant license total:

-
Click on the Continue button. The license is issued and is visible on the project page. The license expiration date can be viewed by moving the mouse over the Licensed icon. This will be visible to everyone.

Note: The production license can also be viewed from the license table (Settings > License).
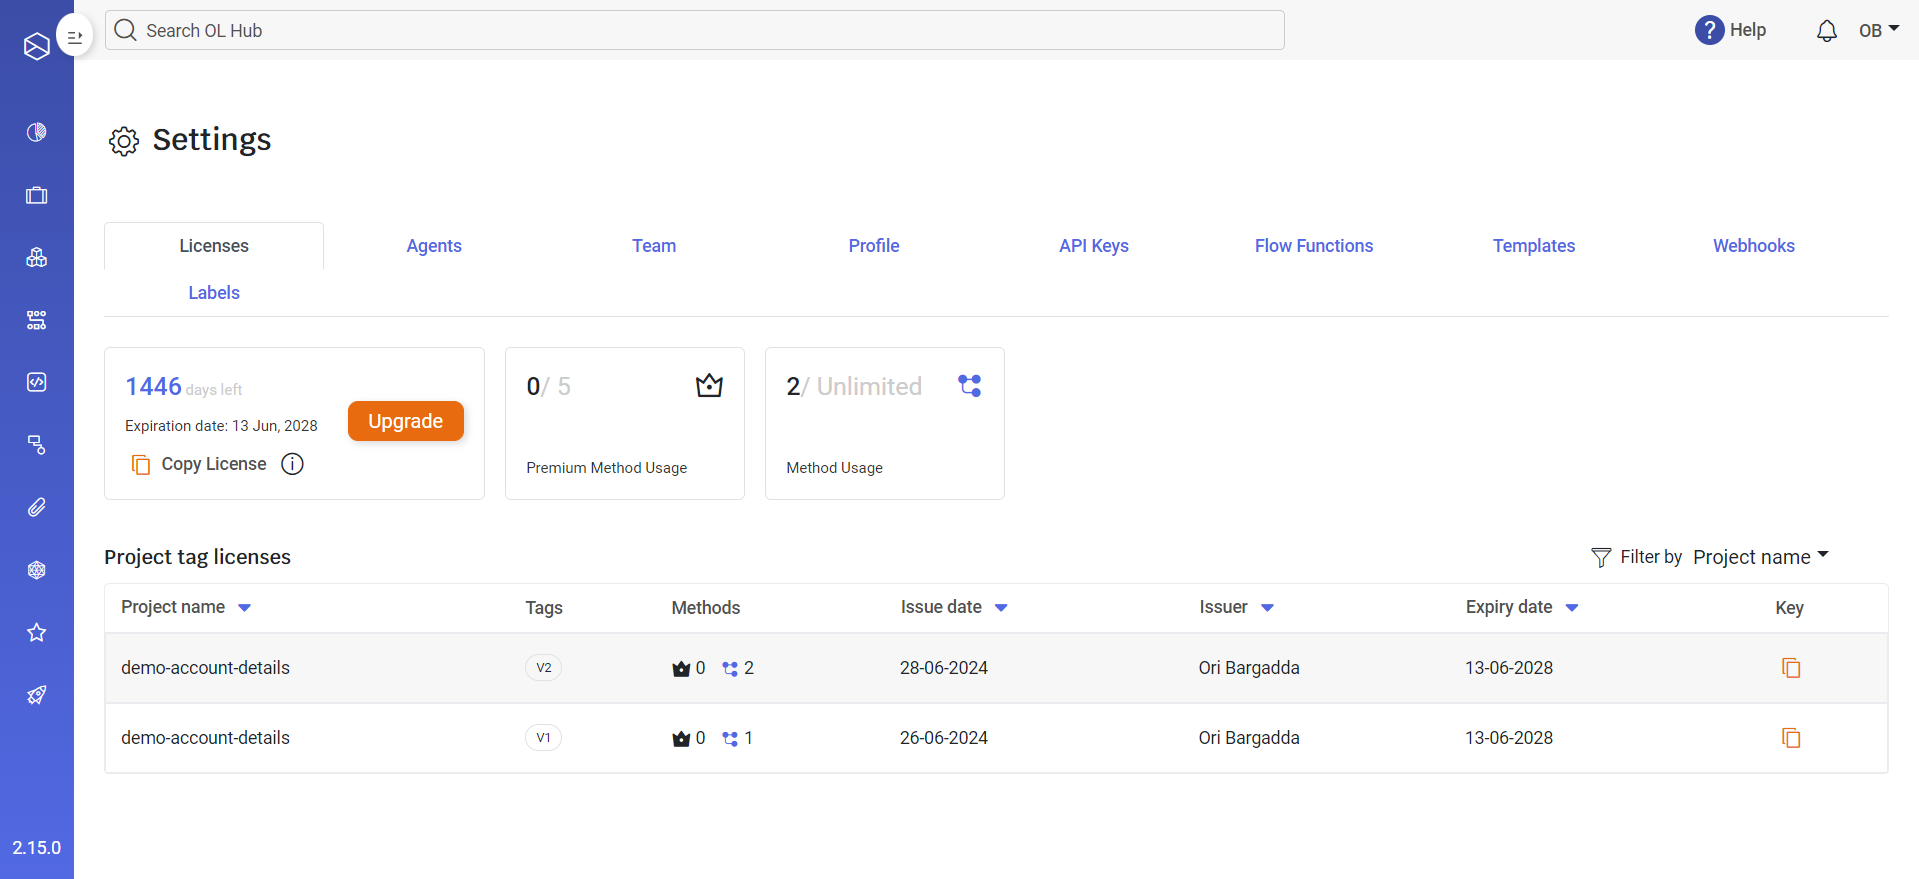
SaaS - License Table
The issued licenses and statistics can be viewed in the OL Hub on the Settings > Licenses page. The user can view:
- Expiration date - the license expiration date.
- The Admin user can request a license upgrade by pressing the
 button.
 - The Copy License button is used to override the generated Dev license in the service configuration.
- The Admin user can request a license upgrade by pressing the
- Premium Method Usage - the number of premium methods currently in use / total allocated number of premium methods
- Method Usage - the number of standard methods currently in use / total allocated number of standard methods
Below the above ribbon, the Project tag licenses table is displayed:
- Project name
- Tags - the Project tags
- Methods - the number of premium (
 methods and number of standard (
 ) methods
 - Issue date - license issue date
- Issuer - Admin user who issued the license
- Expiry date - license expiration date
- Key - API key. Pressing the button copies the key to the clipboard. The key is required when providing a license to an application.
Issuing Production Licenses - Enterprise
A Production license can be issued for every tagged project that contains a published method.
Note: Only the account Admin can issue a Production License. A Temporary Development License will be issued under the hood for every project Tag & Draft.
-
On the tagged project view, click on the Issue License button to license the project.
-
The Issue License window opens, requesting the user to download the project license request:
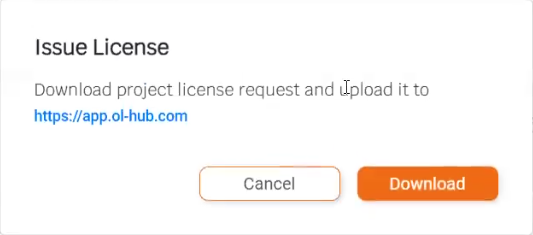
-
Press the Download button. A message appears:

-
When the download completes, the license json file appears in the Downloads directory:

-
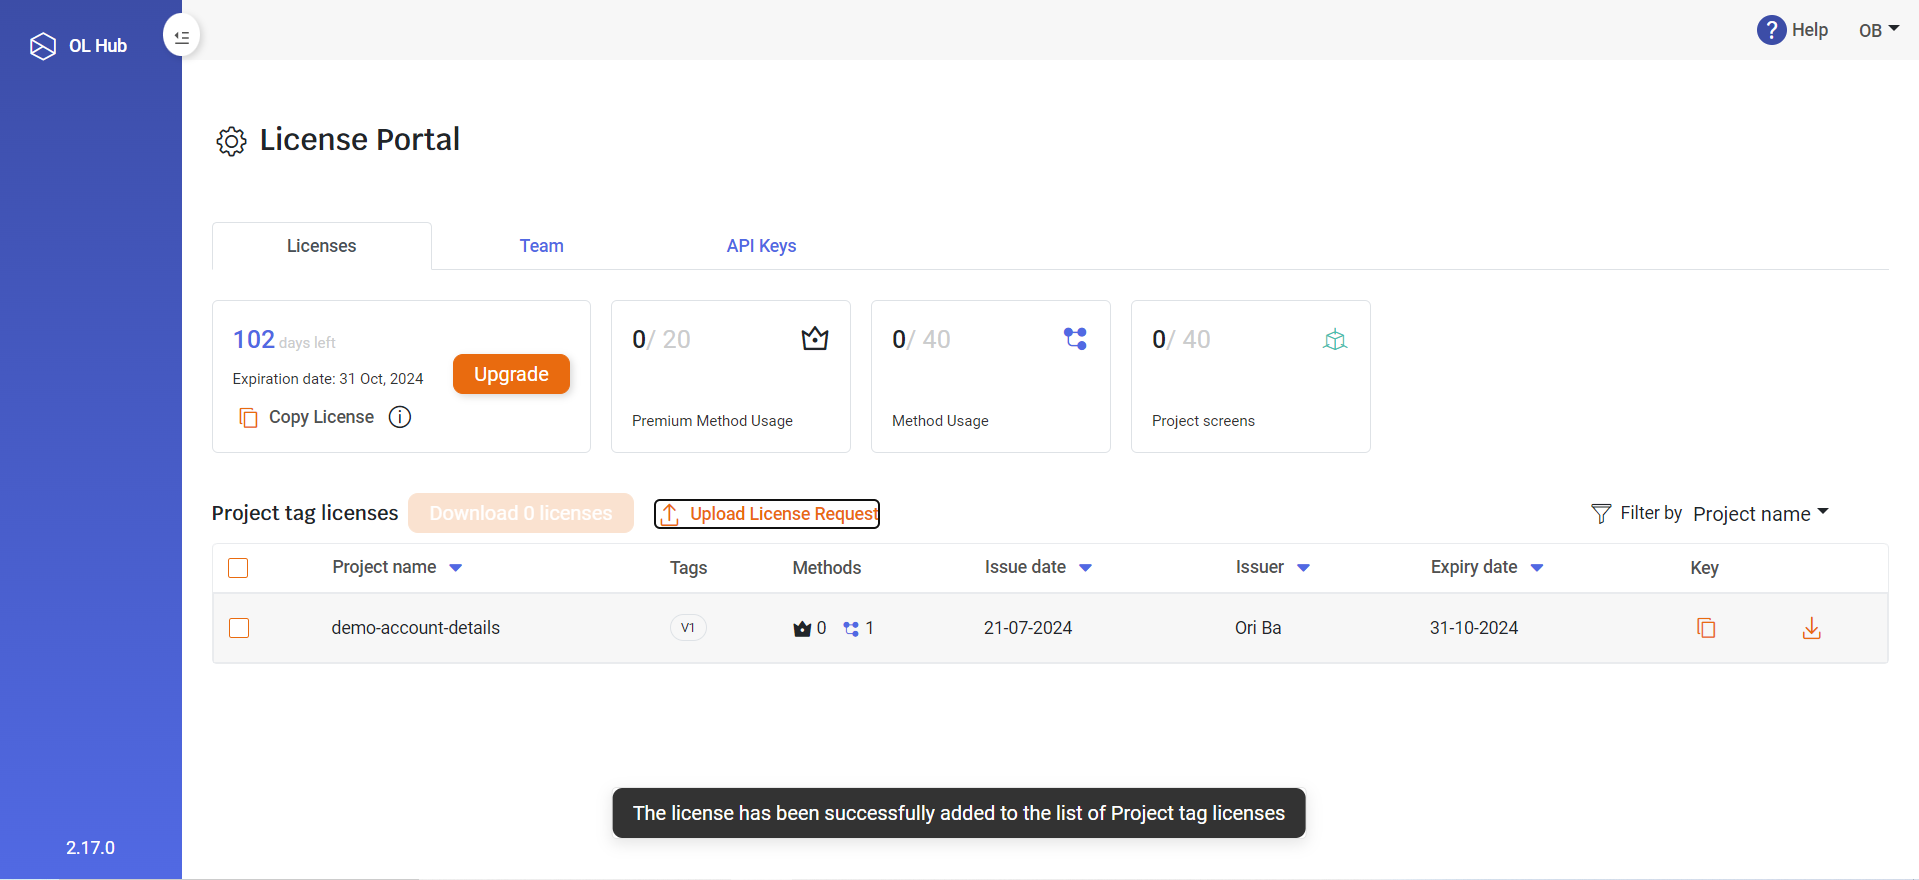
Login to https://app.ol-hub.com with your Enterprise Admin user. The License Portal is displayed:
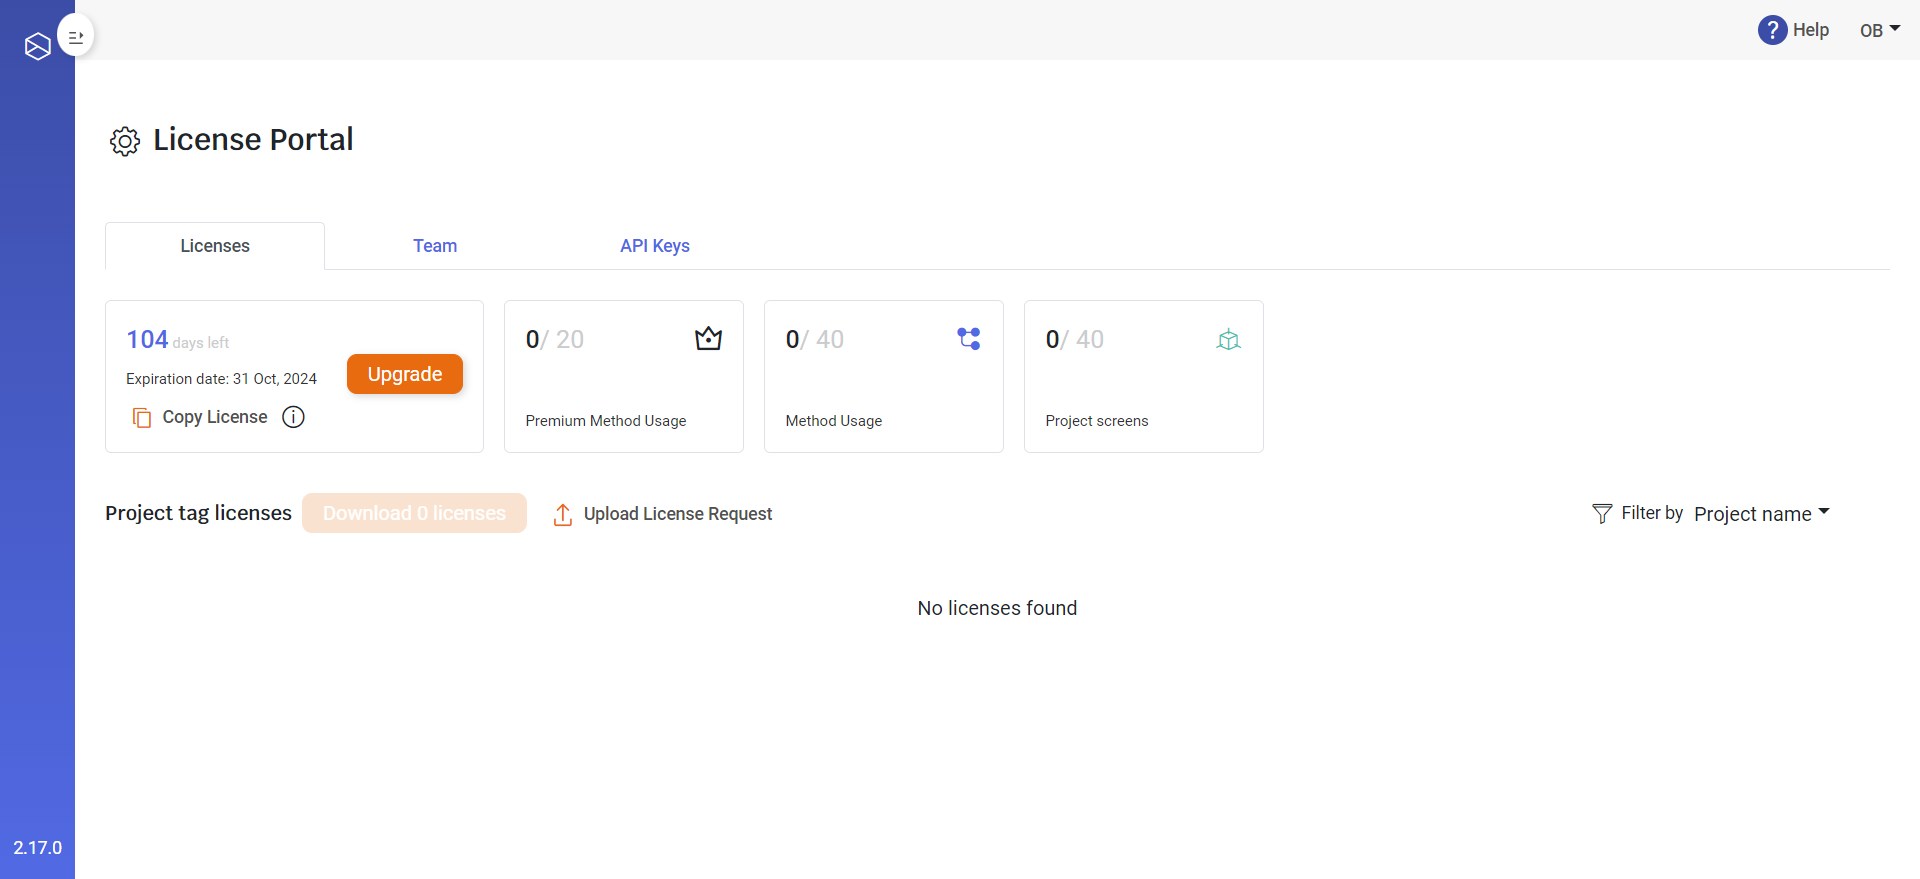
-
Press Upload License Request. The Upload License window opens:
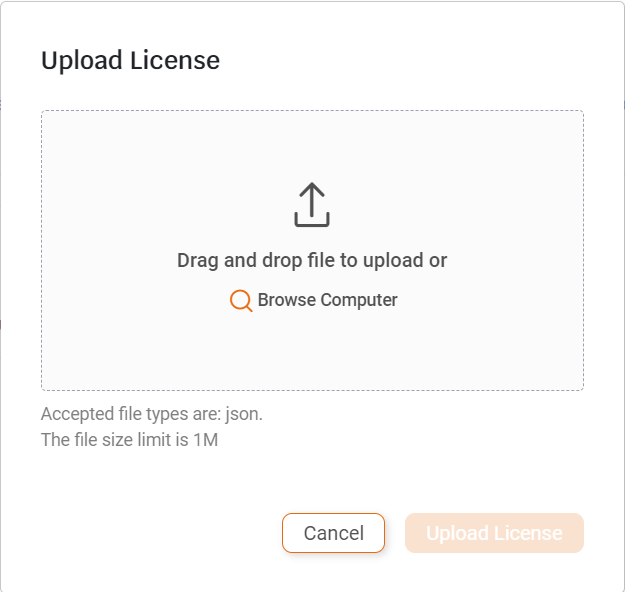
-
Select the license json file you downloaded and insert it into the Upload License Request window.
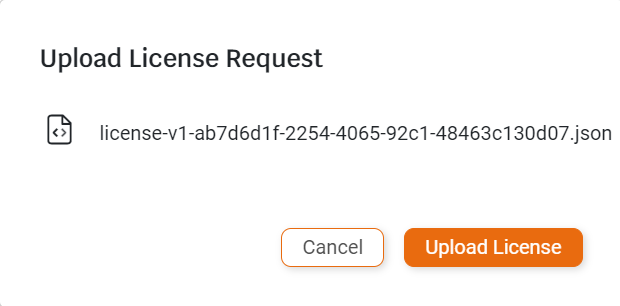
-
Press the Upload License button. A confirmation window appears displaying the number of methods, premium methods and screens to be included in the license.
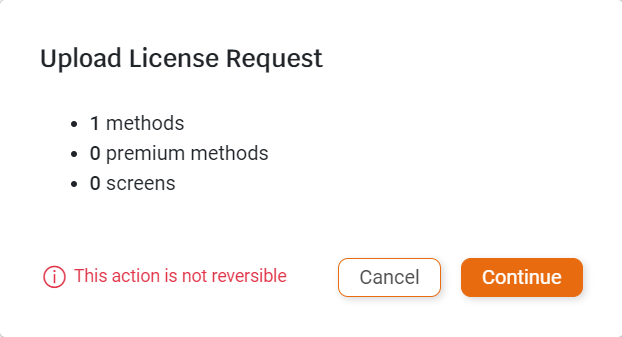
-
Press the Continue button. The license file is uploaded and appears in the table of Project tag licenses. A message appears: The license has been successfully added to the list of Project Tag licenses
Service generation in design and runtime
Services will enforce in runtime against Project Tag Licenses (Project Tag Methods).
-
During API design, members can use the default Dev license. It will not enforce the method quota, but the service will be limited (6 hrs uptime, processing 1 request at a time).
-
Once the Project is ready, the Admin can issue a license to a Project Tag.
-
On Service Generation, the license can be embedded in the Services yaml configuration, or (recommended ) in an ENV variable.
-
Licensing a service from a draft project version
-
Select 'None' to install the license later in the service yaml or in the ENV Variable
-
Select Dev License to embed the Dev License in the service yaml

-
-
Licesing a service from a tagged version
-
Select 'None' to install the license later in the service yaml or in the ENV Variable
-
Select Dev License to embed the Dev License in the service yaml
-
Select a Tag Prod License to embed the Prod License in the service yaml

-
-
Providing a license to an application
There are three ways to provide a license to the application. The license is used in this order:
- Environment variable - By adding the license to the environment variable OL_LICENSE
- YAML configuration - By adding the license to the application.yaml under license.key
- Hub source provider - When using the hub source provider, if the project tag has a production license, it will be provided. If the project tag is not licensed or if you are working on a draft version (tag = 0), a development license will be provided.
Enterprise Licensing Connected Mode
The Enterprise Licensing connected mode feature enables enterprise users to integrate licensing functionalities via a dedicated license portal seamlessly. This capability is tailored to closely replicate the licensing journey experienced in the SaaS edition of the product, facilitating a consistent and streamlined administrative process. Administrators can issue licenses, monitor licenses through a detailed view, and configure system settings using various environment variables and API interactions.
Environment Variables
The system utilizes several environment variables to configure its operation modes and API interactions:
- ONLINE_MODE - Boolean flag that indicates whether the licensing APIs are accessible. When set to true, the system will attempt to communicate with specified remote licensing services.
- HUB_API_KEY - Required API key for authenticating with the licensing back office when ONLINE_MODE is enabled.
- PROXY_URL - Optional. Specifies an alternative proxy URL for API requests. If not set, the hub's URL is used by default.
License Expiration Notifications
This feature ensures that administrative contacts such as User Admins, Customer Success, and Support team for each tenant are proactively notified about upcoming and recently expired license events. The goal is to maintain continuous service without interruption due to license expiry.
The Admin and users will see a yellow system message 30 days before the expiration post expiration. The users will be redirected to the License Portal (to extend the License). The Logging will be written on Services startup.
Grace Period
The Grace Period is the time interval after the expiration date during which runtime applications will continue to run, but the user will be denied access to the design environment.
Notification Strategy
- Email Notifications - Emails are sent to the User Admin, CS representative, and OL support for a tenant as per the following schedule:
- 90 days before expiration: First reminder email.
- 60 days before expiration: Second reminder email.
- 30 days before expiration: Final reminder email.
- Post-expiration within grace period: Notification of license expiration but within the allowed grace period for renewal.
- Logging - All notification events are logged for audit and troubleshooting purposes.